




A free shipping calculator sits on your storefront and tells shoppers how far they are from qualifying for free shipping. It reads the cart total, compares it against your threshold, and updates a message as items are added or removed. Most versions also show a small carousel of products the shopper can add to close the gap, which turns the bar into a working upsell surface rather than a passive notice.
This article covers how to pick a threshold that lifts AOV without eating your margin, how to write messages for each cart stage, how to add the bar to your store, and how to avoid the setup mistakes that quietly hurt conversion. If you already know your threshold and just need the setup path, skip to section five.
Key takeaways
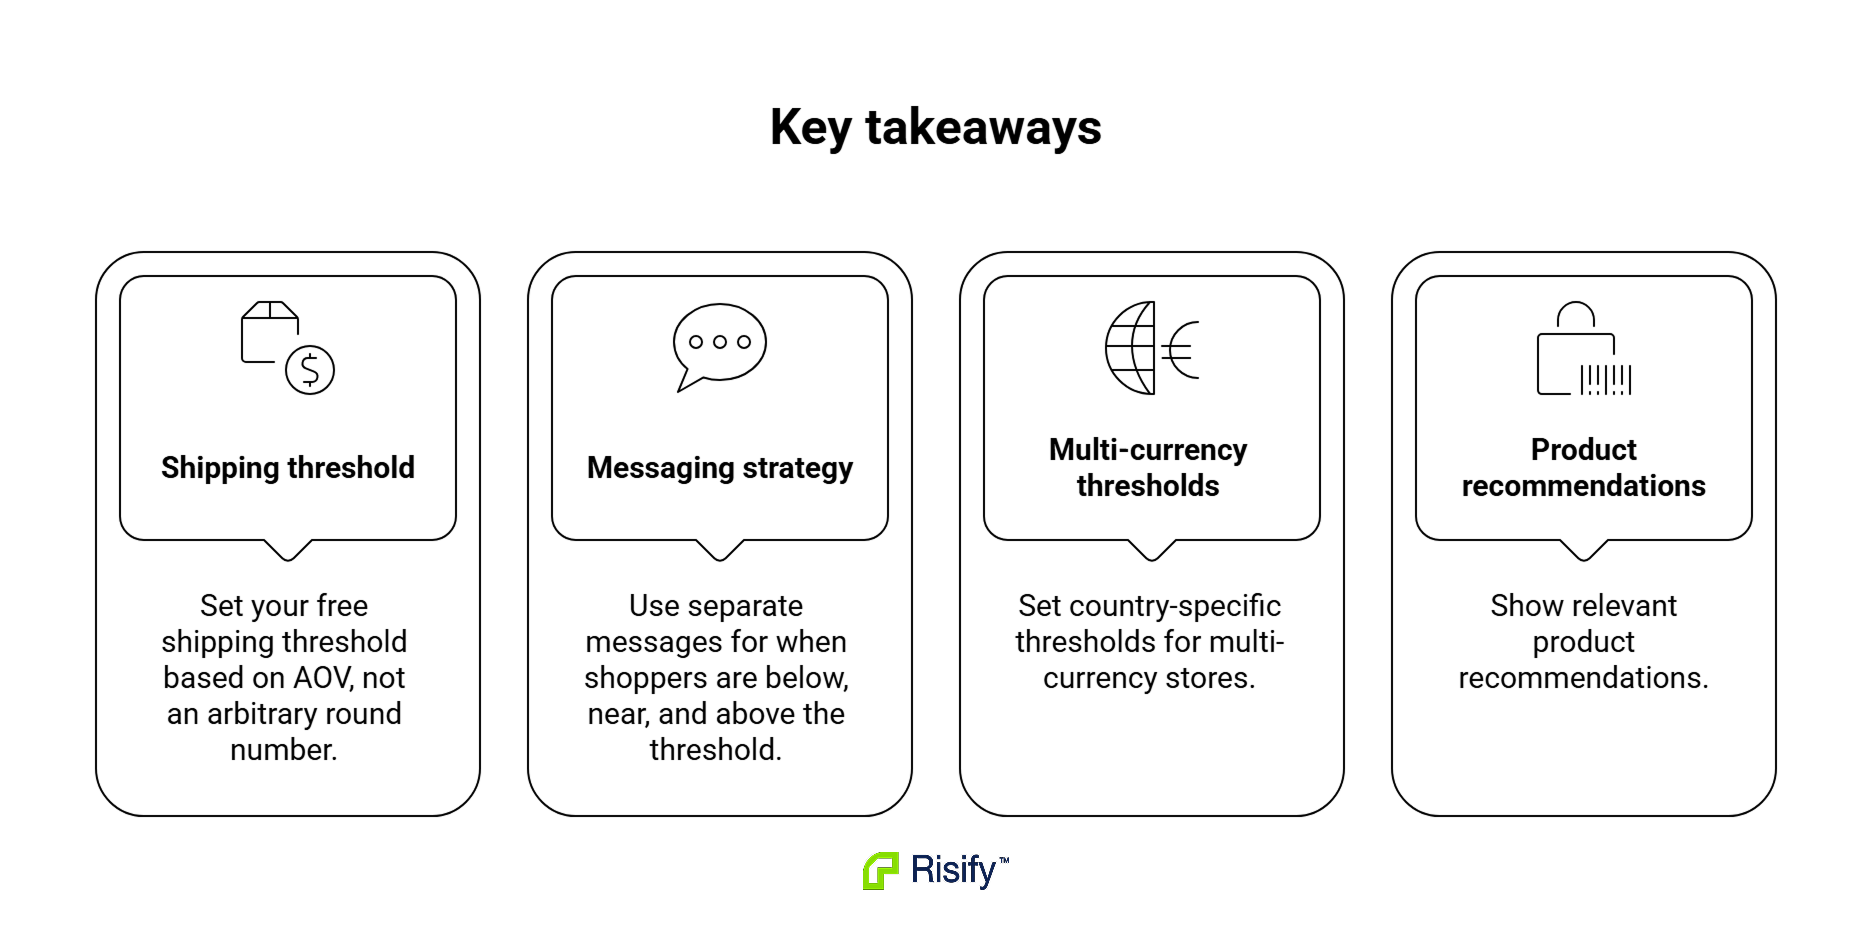
- Your free shipping threshold should be anchored to your AOV, not to a round number that feels right.
- The bar needs at least three message states (below, near, and reached), because one message across all stages weakens the nudge.
- Country targeting matters on multi-currency stores, since the bar only appears for shoppers browsing in a currency you have set a threshold for.
- Product-specific upsell recommendations convert better than a single default carousel shown to every shopper.
- Styling the bar in the theme editor is a separate step from configuring the logic, and skipping it leaves you with a functional bar that looks generic.
What Is a Shopify Free Shipping Calculator?
A free shipping calculator is a storefront bar that shows shoppers the remaining amount they need to spend to qualify for free shipping. The word “calculator” is a bit misleading because it is really a progress indicator with logic behind it.
It does two jobs at once:
- It tells the shopper where they stand relative to your threshold.
- It gives them a quick way to add products that will get them there.
The bar usually sits at the top of the page or inside the cart drawer. As the cart total changes, the message updates and the progress fills in. When the shopper crosses the threshold, the message switches to a confirmation that free shipping has been unlocked.
Some versions stop there. Better ones include a product carousel so the shopper does not have to leave the current page to find something to add.
The reason merchants add one is straightforward. A shopper who is $8 away from free shipping is much more likely to add a $12 item than a shopper who sees no threshold at all. The bar makes the offer visible at the moment it matters, which is when the shopper is deciding whether to check out or keep browsing.
How to Choose the Right Free Shipping Threshold for Your Shopify Store
The threshold is the single most important setting in the entire feature. Set it too low and you give away shipping on orders that were already going to happen at their current size. Set it too high and shoppers ignore it because closing the gap feels unreasonable. The right number sits above your average order value but within reach of a single added item.
How to calculate your threshold from AOV
Start with your current AOV over the last 90 days. If your AOV is $42, a threshold in the $55 to $65 range is usually workable. The gap between AOV and threshold should be roughly the price of one product in your typical range, so the shopper’s next move is obvious: add one more item.
A worked example: a store with a $42 AOV, an average product price of $18, and a shipping cost of $7 per order. Setting the threshold at $60 asks the average shopper to add one more product. If that shift moves AOV from $42 to $54, the store nets $12 more in revenue per converted order against a $7 shipping cost it now absorbs. The math holds as long as the incremental margin on the added product exceeds the shipping you are giving up.
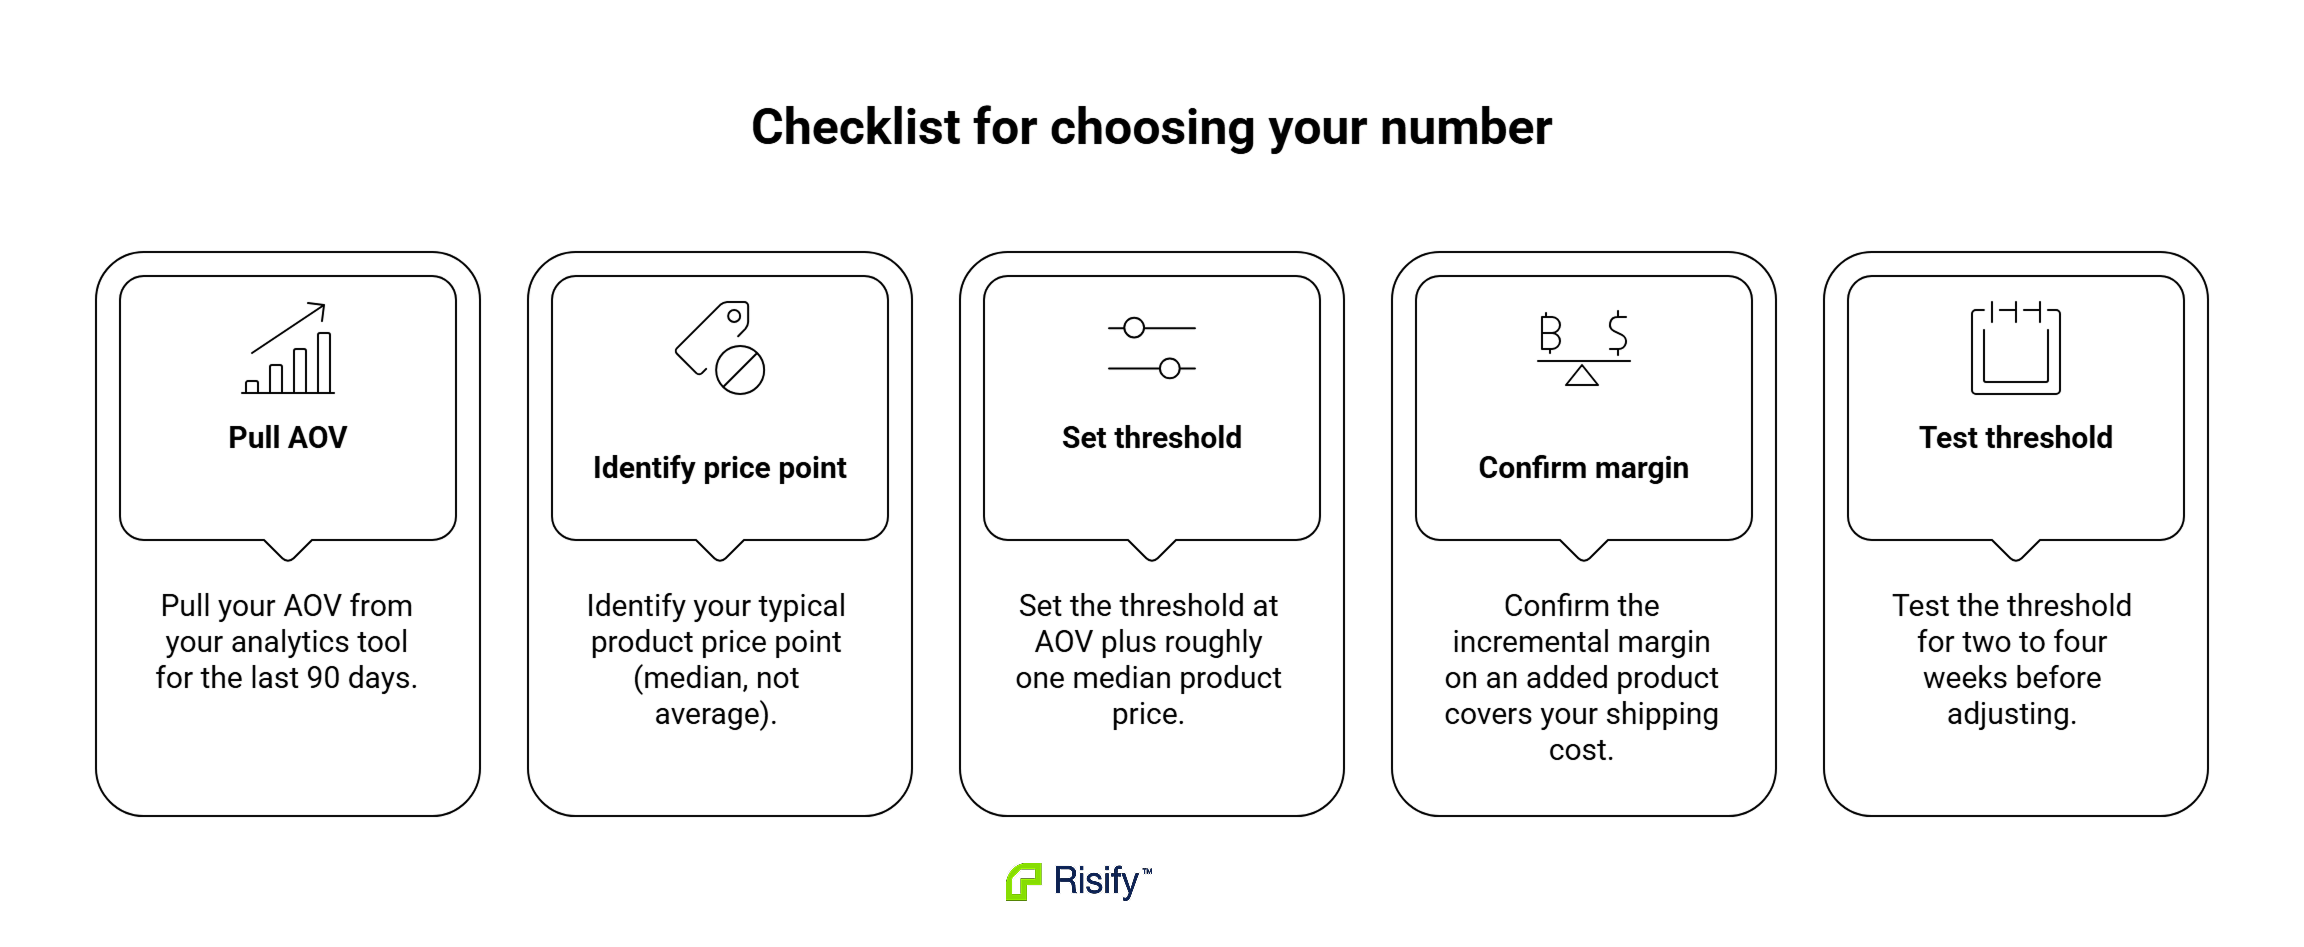
A short checklist for choosing your number:
- Pull your AOV from Shopify Analytics for the last 90 days.
- Identify your typical product price point (median, not average, since a few high-ticket items skew the average).
- Set the threshold at AOV plus roughly one median product price.
- Confirm the incremental margin on an added product covers your shipping cost.
- Test the threshold for two to four weeks before adjusting, since short windows produce noisy data.
Bonus: Learn more about Average Order Value (AOV) in Ecommerce
Why $50 and $75 show up so often
These round numbers are common because they are easy to communicate and they happen to fit the AOV of many mid-range Shopify stores. There is nothing special about them. If your AOV is $28, a $50 threshold is fine. If your AOV is $95, a $50 threshold gives away shipping on orders that would have happened anyway. Copy the logic, not the number.
How to Add a Free Shipping Progress Bar to Your Shopify Store
Shopify does not include a free shipping bar out of the box. You add one through an app, and the app you choose determines what the bar can do. A basic bar shows a single message and a progress line. A more capable bar handles multiple message states, country targeting, and product recommendations inside the same widget.
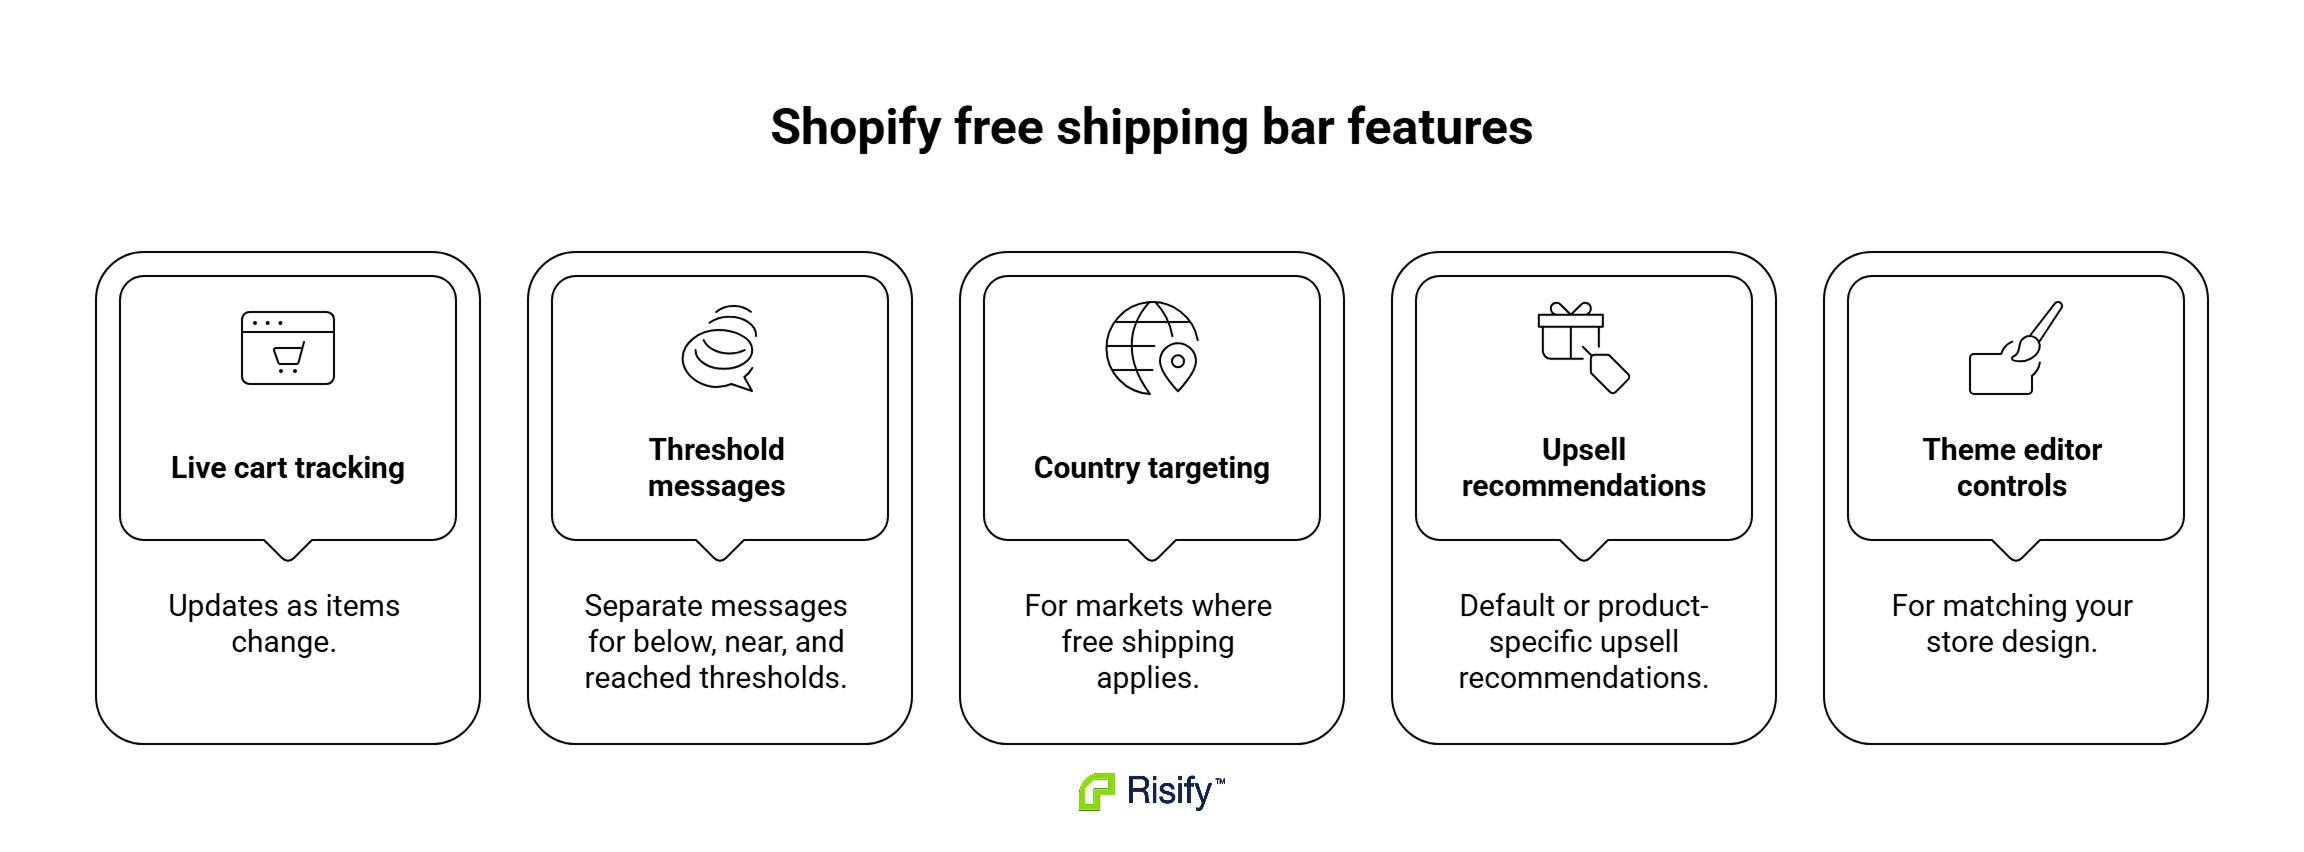
A good free shipping bar for Shopify includes:
- Threshold logic that reads the live cart total and updates as items change.
- At least three message states: one for below the threshold, one for when the shopper is close, and one for when the threshold is reached.
- Country targeting, so you can show the bar only in markets where you actually offer free shipping.
- A product carousel that pulls from either a default upsell list or a product-specific list assigned to the item in the cart.
- Theme editor integration for styling, so the bar matches your store instead of looking bolted on.
Risify includes all of this in its Free Shipping Calculator feature, which is what we will use as the example in the setup walkthrough below. The configuration screen handles the threshold, countries, messages, and upsell logic. Styling is done in the theme editor, which keeps the visual settings separate from the logic and lets you preview changes against your live store.
What Messages to Show at Each Cart Stage
A single message across all cart stages weakens the effect of the bar. A shopper who is $30 away needs different information than a shopper who is $3 away, and both need something different from a shopper who has already qualified. Three states cover the meaningful transitions.
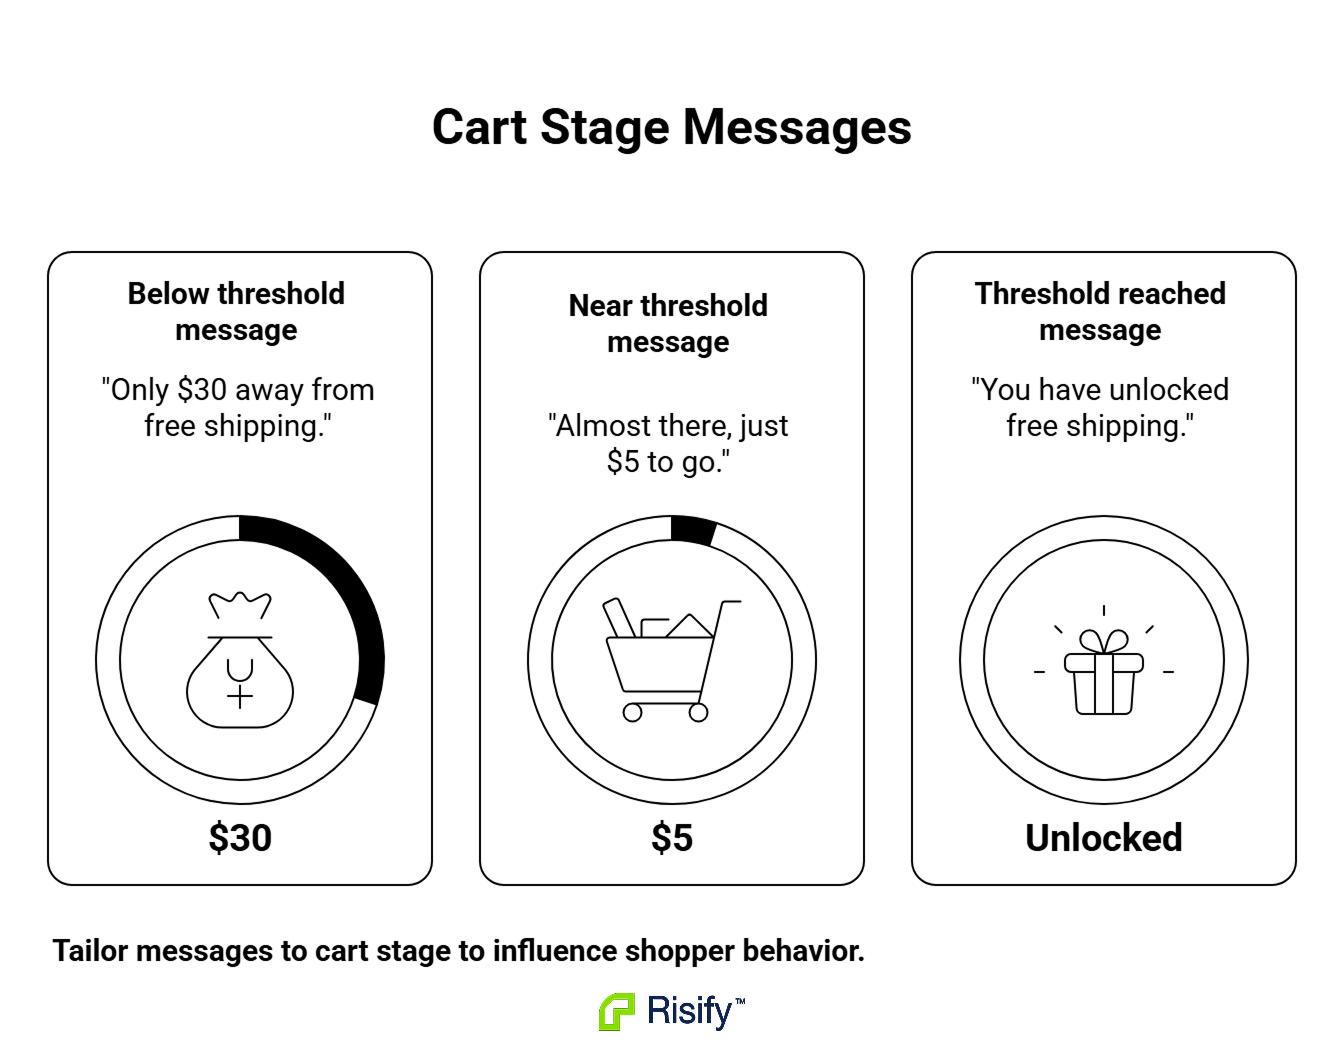
Examples that work for each state:
- Below threshold: “Only $30 away from free shipping.” The number does the work here, so keep the sentence short.
- Near threshold: “Almost there, just $5 to go.” A shift in tone signals the shopper is close, which nudges them to add one more item rather than checkout.
- Threshold reached: “You have unlocked free shipping.” A confirmation, not another nudge. Trying to sell more at this point can feel pushy.
How to set the near-threshold trigger point
The near-threshold message is controlled by a ratio between 0 and 1, which represents the share of the threshold at which the message switches from “below” to “near.” A ratio of 0.8 means the near message appears once the cart hits 80% of the threshold. For a $50 threshold, that is $40.
A ratio between 0.7 and 0.9 usually works. Lower than 0.7 triggers the near message too early, when the shopper is still far from the goal and the urgency feels forced. Higher than 0.9 barely gives the near message time to appear before the shopper crosses the threshold. Start at 0.8 and adjust based on your average cart-add sequence.
Bonus: Explore Top Shopify Apps for Analytics, SEO, and Marketing
How to Set Up a Free Shipping Calculator in Shopify
The setup below uses Risify, which handles the logic in an admin screen and the styling in the theme editor. You can configure the settings in any order, so use the H3s below to jump to the specific setting you need.
Setting your free shipping threshold
Open the Free Shipping Calculator feature and go to the settings screen. Enter the cart total that should unlock free shipping in your store’s default currency.
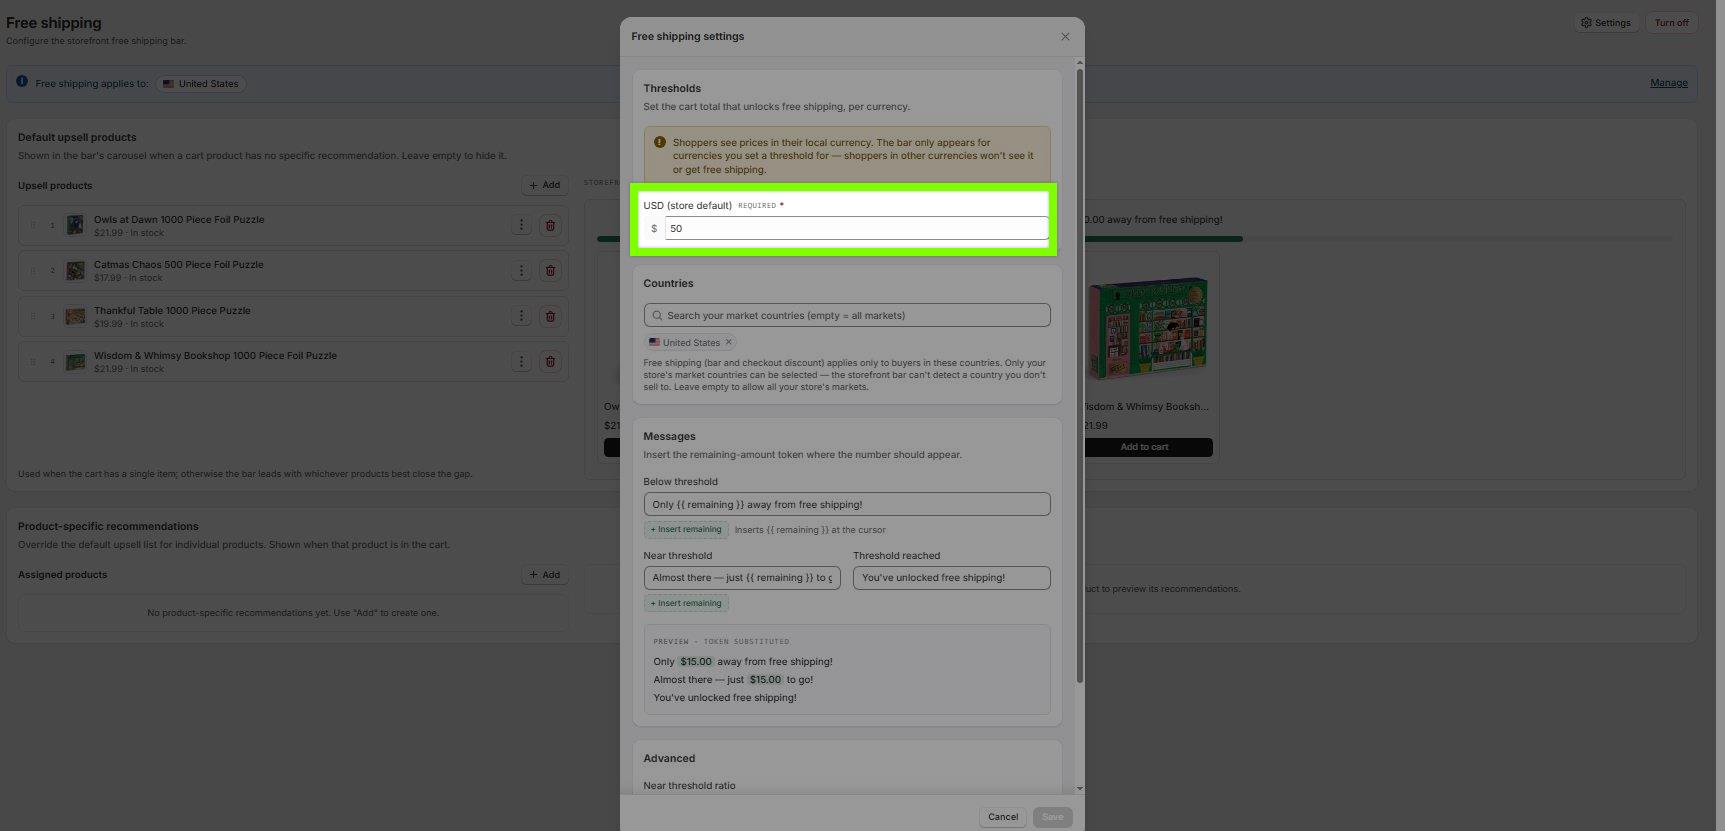
One thing to know about multi-currency stores: the bar only appears for shoppers browsing in a currency you have set a threshold for. Shoppers in other currencies will not see the bar or get the offer. If you sell in multiple currencies, set a threshold for each one you care about.
Choosing which countries see the bar
Under the Countries setting, pick the markets where the bar should appear. Only your store’s active market countries are selectable, since the bar cannot detect a country you do not sell to. Leave the field empty to show the bar in all markets.
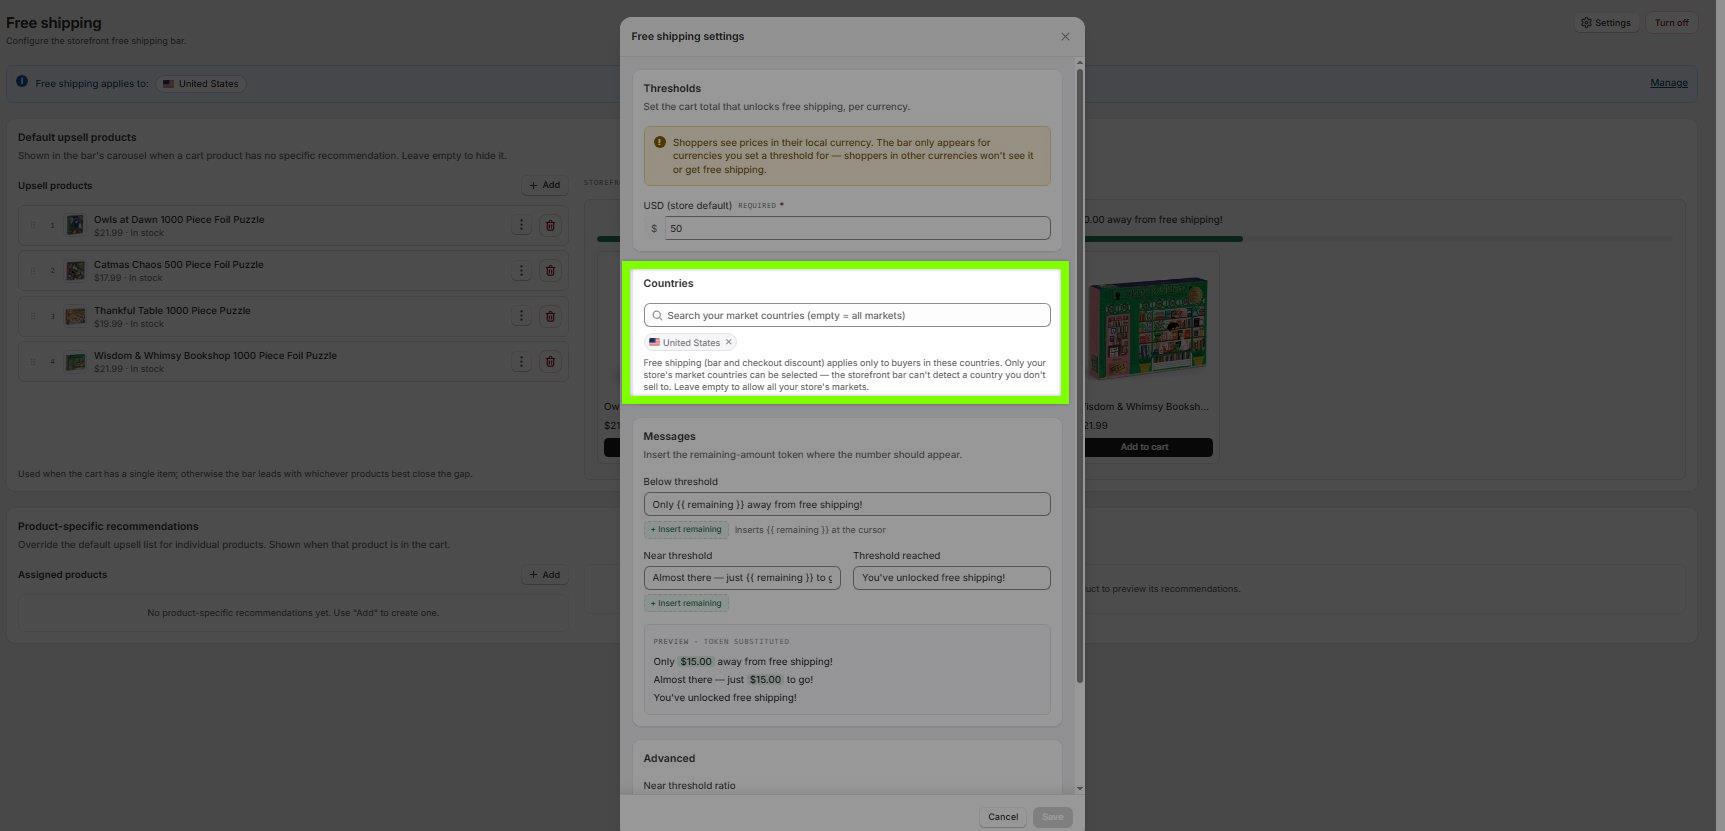
This matters if you offer free shipping only in certain regions. Showing the bar in a country where you do not actually ship free would break trust the moment the shopper hit checkout.
Writing messages for each cart stage
The Messages section holds three fields: below threshold, near threshold, and threshold reached. Use {{ remaining }} anywhere you want the remaining amount to appear.
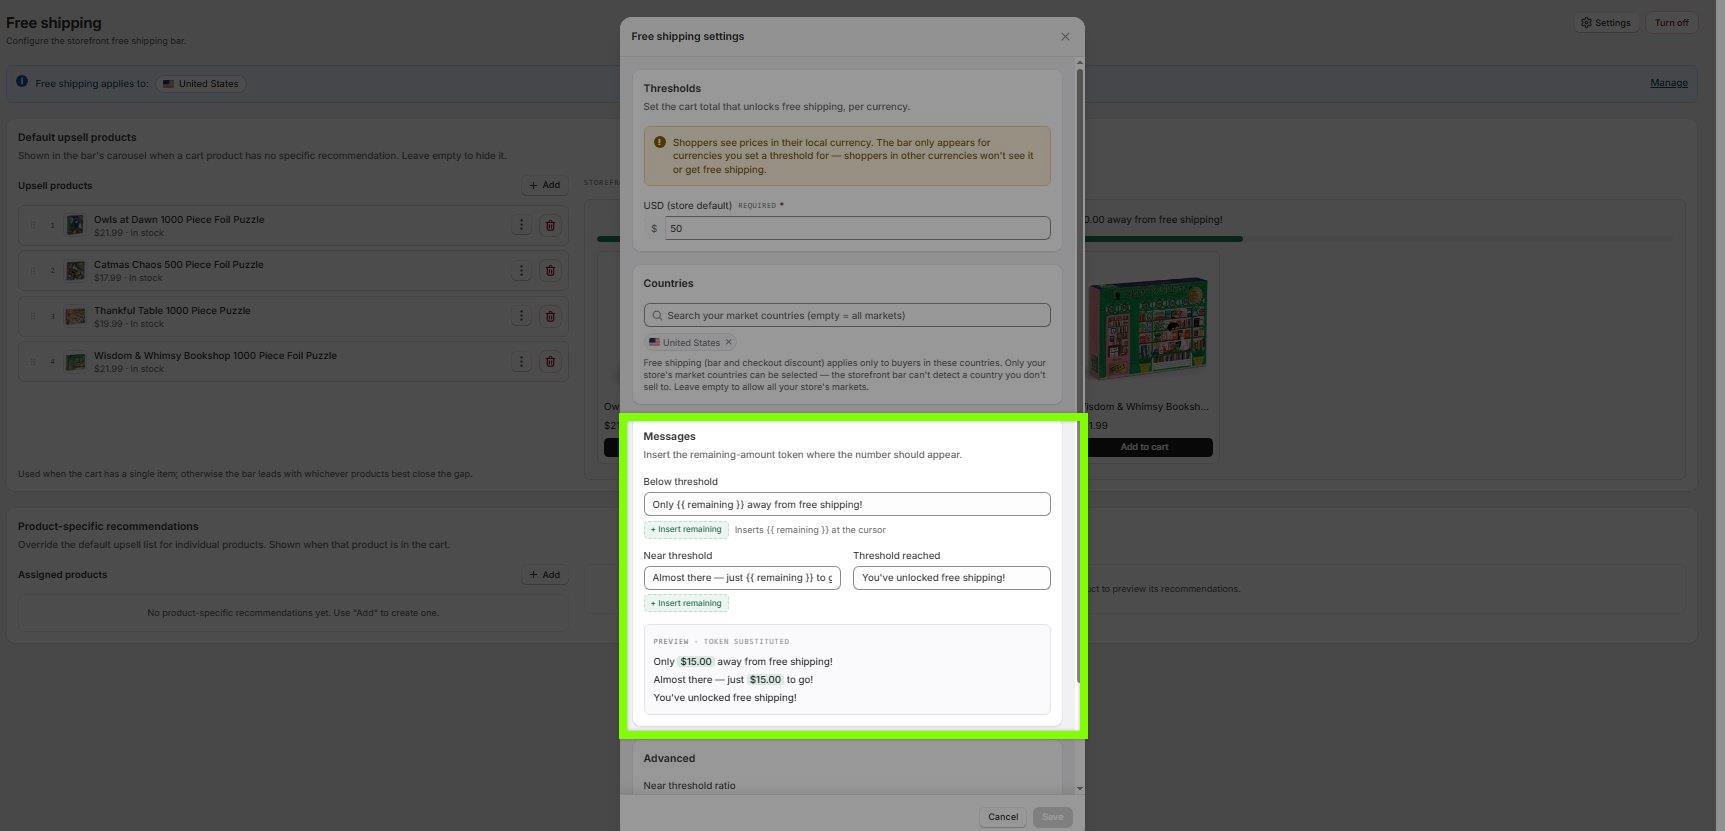
The preview block underneath the fields shows all three states with your current values filled in, so you can check the copy before saving. Keep the messages short. The bar has limited horizontal space, and long sentences wrap awkwardly on mobile.
Setting the near-threshold ratio
Under Advanced, set the near-threshold ratio to a value between 0 and 1. This controls when the near message replaces the below message.
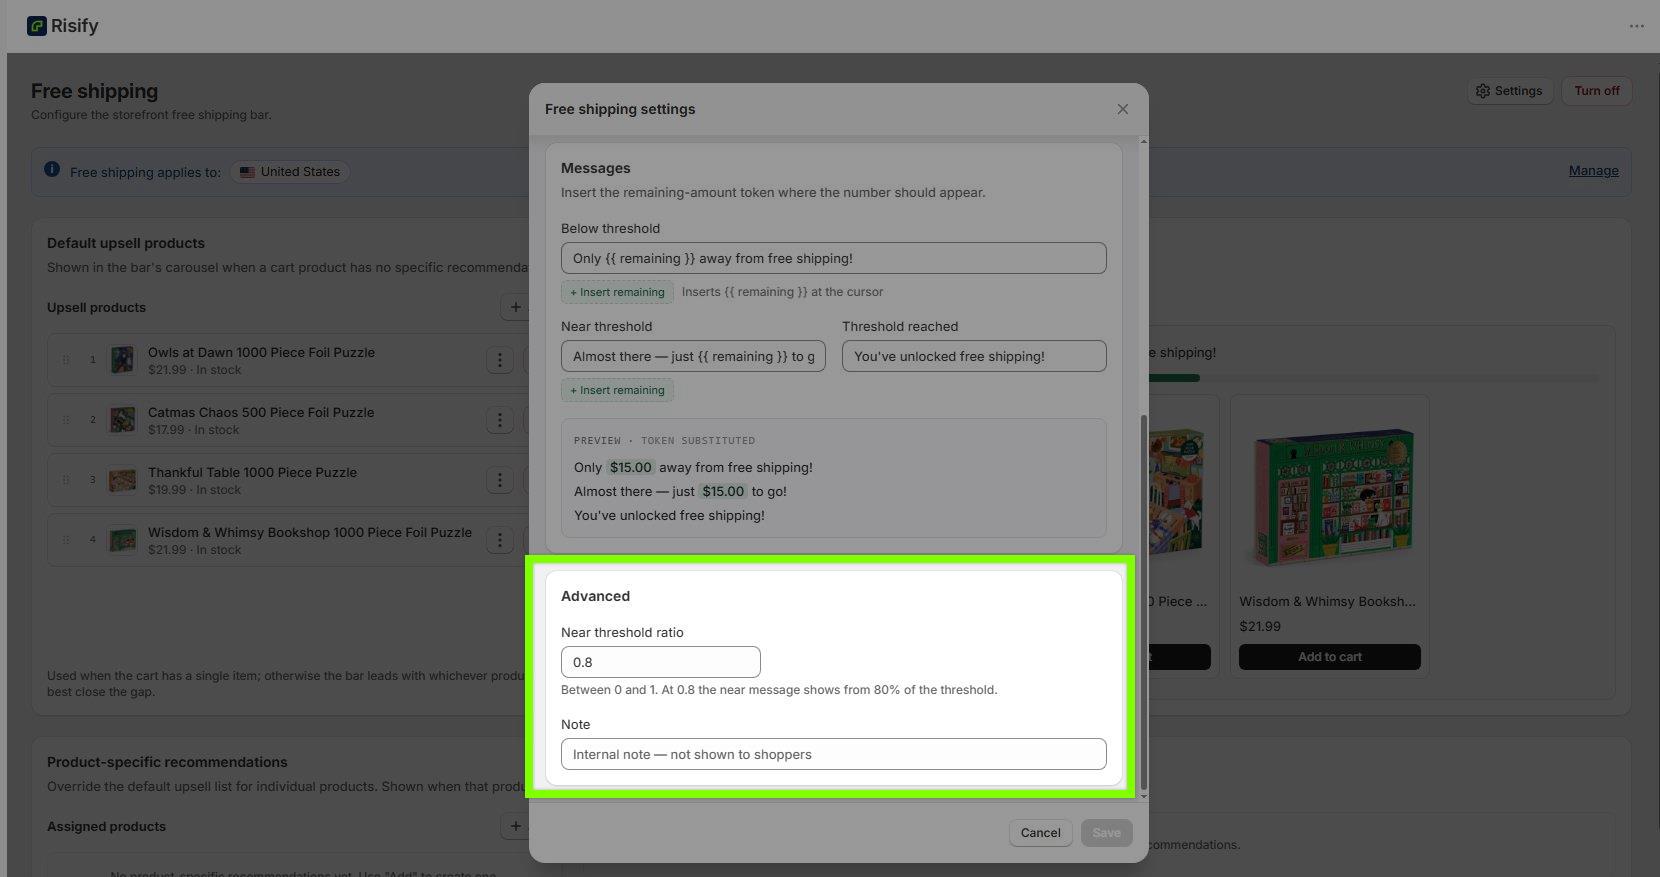
0.8 is a reasonable starting point for most stores. If your typical cart has three or four items and shoppers usually add products in $10 to $20 increments, 0.8 gives the near message enough time to influence the next add.
Adding default upsell products
Default upsell products appear in the bar’s carousel when the item in the cart has no product-specific recommendation assigned. Search for products in the picker and add the ones you want to show.
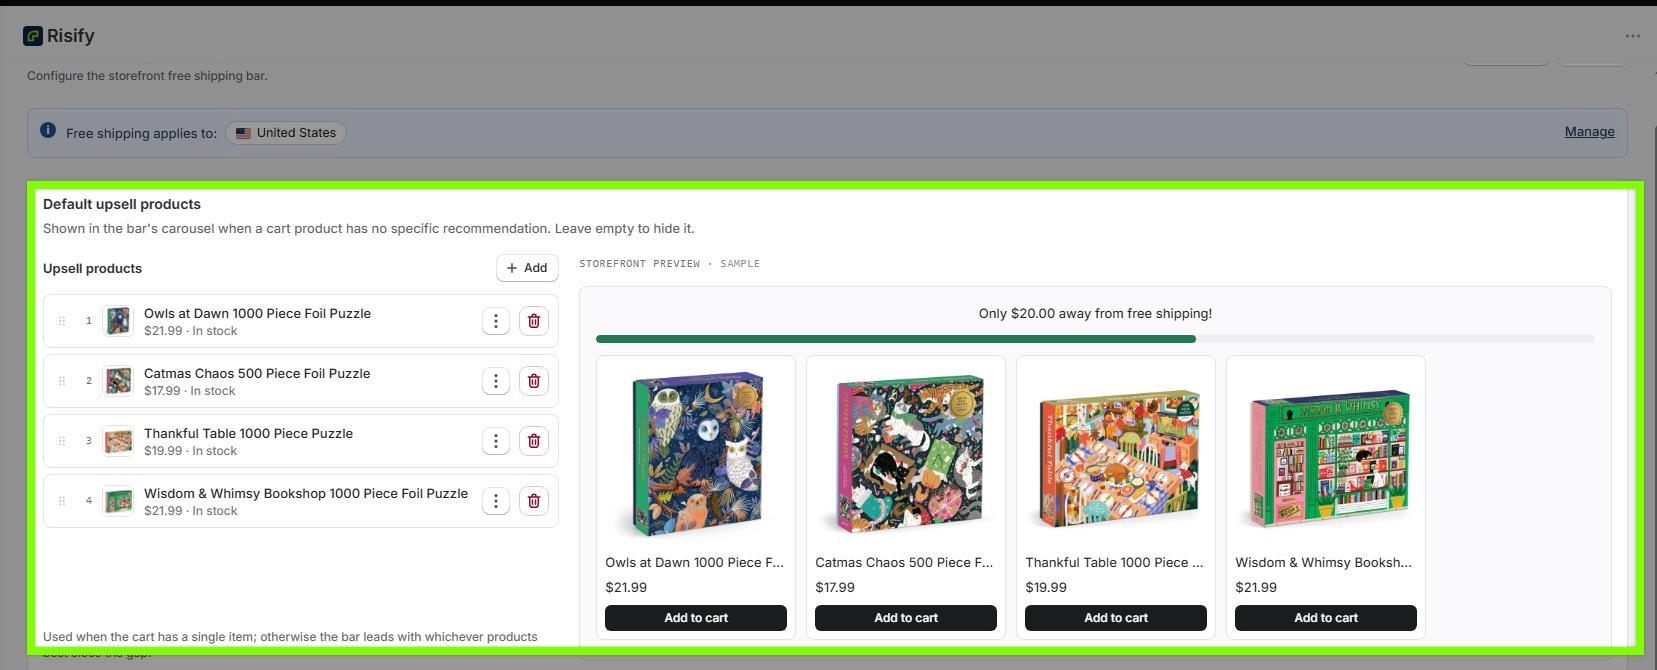
Leaving this section empty hides the carousel entirely, which is a valid choice if you want the bar to focus on the progress message alone. If you do use defaults, pick products with a price point close to the average gap between AOV and threshold, so adding one actually closes the distance.
Assigning product-specific recommendations
Product-specific recommendations override the default list on a per-product basis. When a shopper has that product in the cart, the carousel shows the recommendations you have assigned instead of the default list.
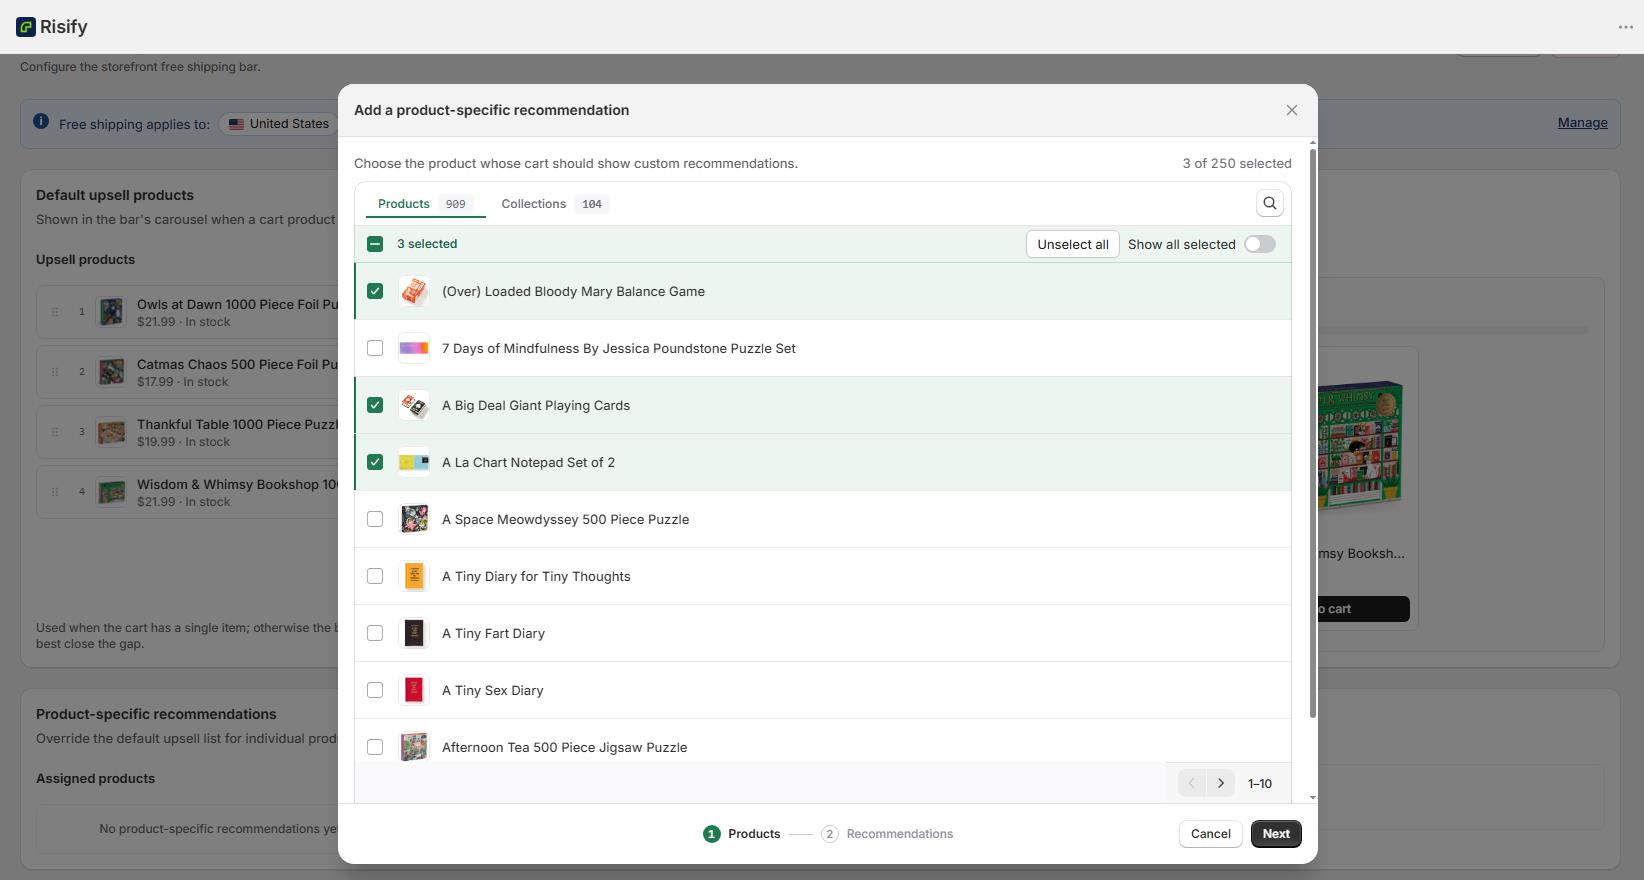
This is where the feature earns its keep. A shopper with a 1000-piece puzzle in the cart is more likely to add a matching bookmark or notebook than a random product from your default list. Assigning recommendations to your top 10 or 20 products covers most of your carts and produces noticeably better attach rates than defaults alone.
Styling the bar in the theme editor
After the logic is configured, open the theme editor to style the bar. You can adjust width, layout, fonts, background color, and the overall structure so the bar matches your store.
The styling is separate from the logic on purpose. You can change how the bar looks without touching any of the settings above, and you can update the settings without going back to the theme editor.
Common Mistakes to Avoid with Free Shipping Calculators
The setup itself is not complicated. The mistakes tend to be in the choices around it.
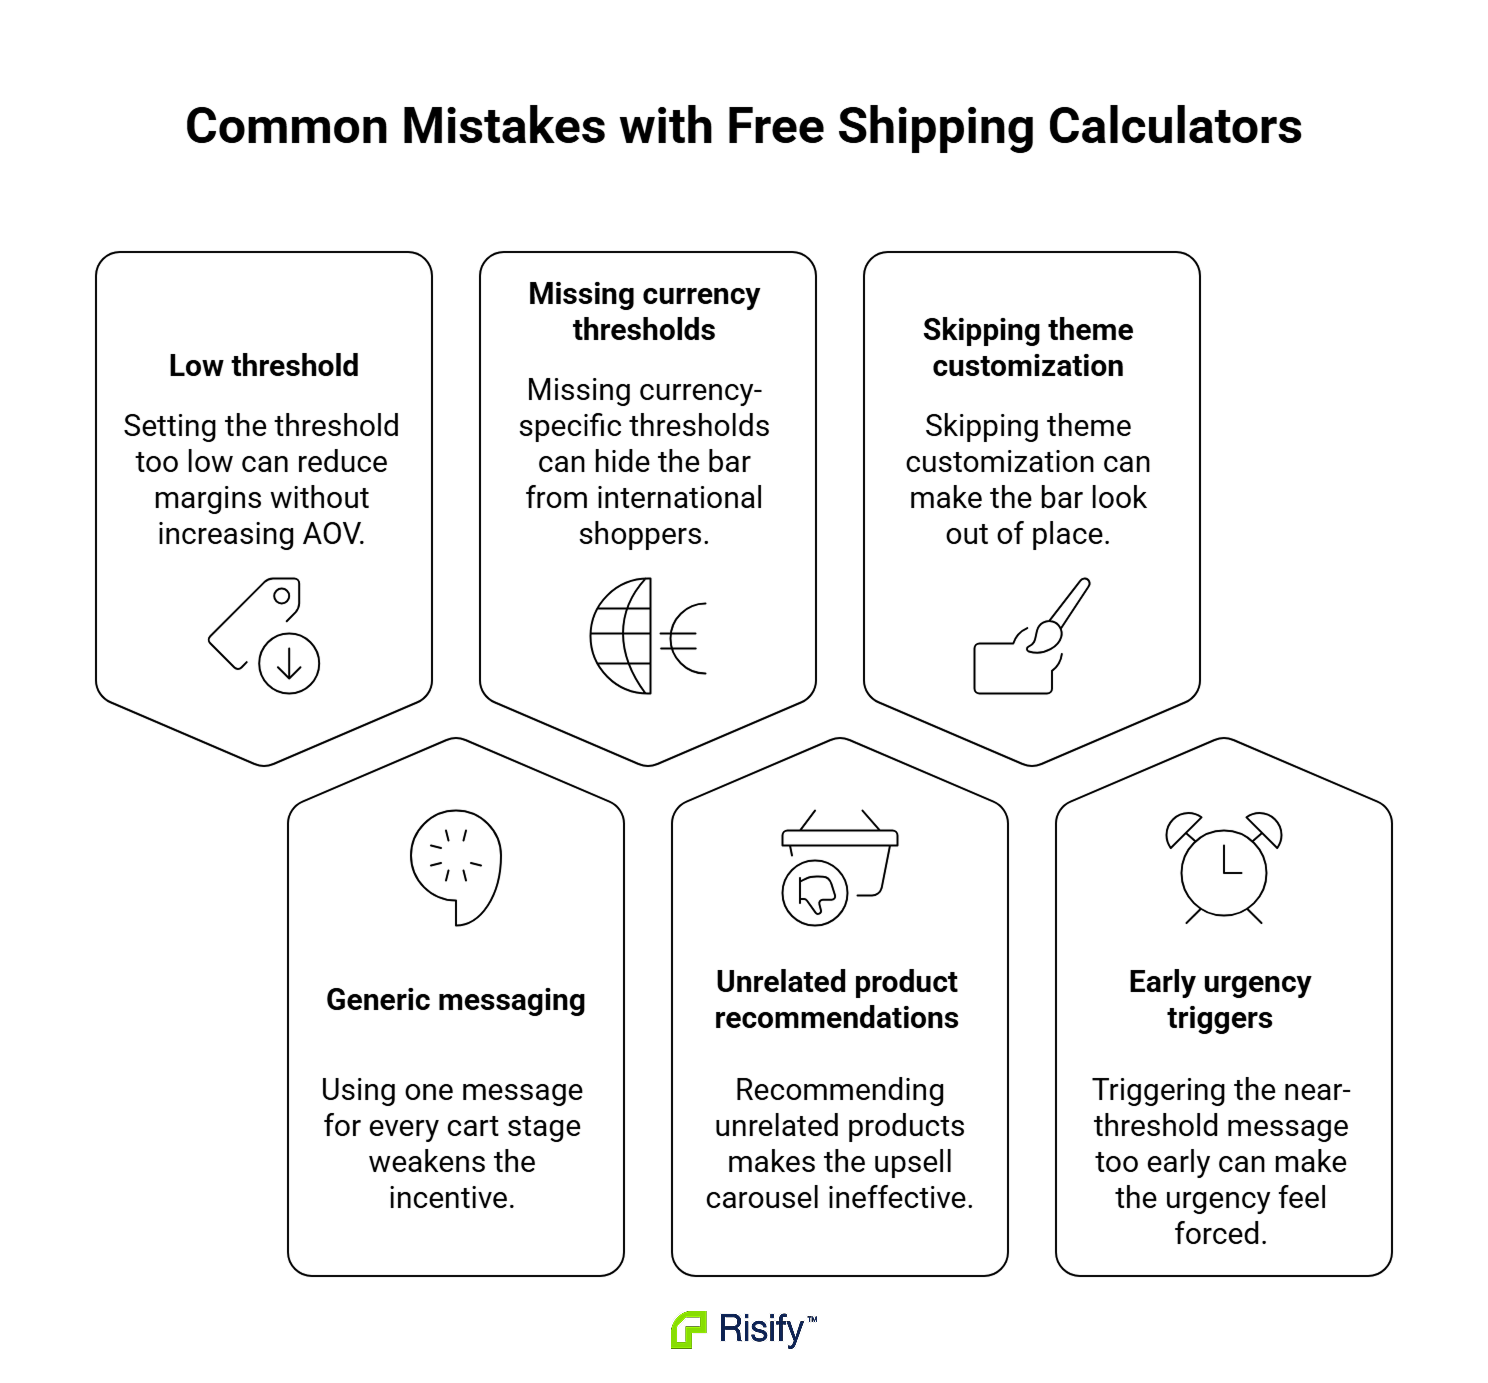
- Setting the threshold too low. Giving away shipping on orders that were already going to happen at their current size costs you margin without lifting AOV.
- Using the same message across all cart stages. A shopper who is $3 away and a shopper who is $30 away need different nudges, and one generic message serves neither well.
- Ignoring multi-currency stores. If you sell in EUR and GBP but only set a USD threshold, most of your international traffic sees nothing.
- Loading random products into the upsell carousel. If the recommended products have no relationship to what is in the cart, the carousel becomes noise. Product-specific recommendations solve this for your top sellers.
- Skipping the theme editor step. A bar that works but looks bolted on gets ignored, and shoppers tune out the message even when the logic is correct.
- Setting the near-threshold ratio too low. Triggering the near message when the shopper is still 40% away from the threshold makes the urgency feel manufactured, and shoppers stop trusting the bar.
How to Get Started with a Free Shipping Calculator on Shopify
The setup itself takes about 15 minutes once you know your threshold. The threshold decision is the part worth spending time on, since it determines whether the bar lifts AOV or quietly costs you margin.
A short path to launch:
- Pull your AOV from Shopify Analytics and set a threshold roughly one median product price above it.
- Write three messages, one for each cart stage, and keep them short enough to fit on mobile.
- Add a default upsell list with products priced close to the average gap between AOV and threshold.
- Assign product-specific recommendations to your top 10 to 20 products.
- Style the bar in the theme editor so it matches your store rather than looking like a plugin.
Risify handles all of this in a single feature, with the logic in one settings screen and the styling in the theme editor. You can install it from the Shopify App Store and have the bar live on your storefront the same day.